Animated GIFs are a fun way to spice up your social media content calendar and catch your audience’s attention in the newsfeed. At Gossip Genie, we not only use GIFs when communicating with each other in Slack, but we create them for our clients, too.
While it’s pretty simple to make a GIF on GIPHY.com, their program can minimize the quality of the image and make it grainy and fuzzy. Making a GIF on Photoshop can help preserve the quality of the images so it still looks nice on your social media feed.
Here’s a step-by-step tutorial on how to make a GIF on Photoshop:
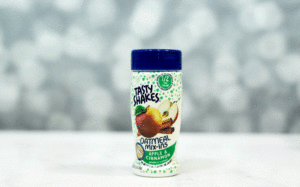
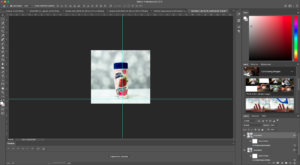
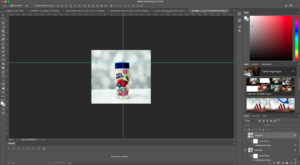
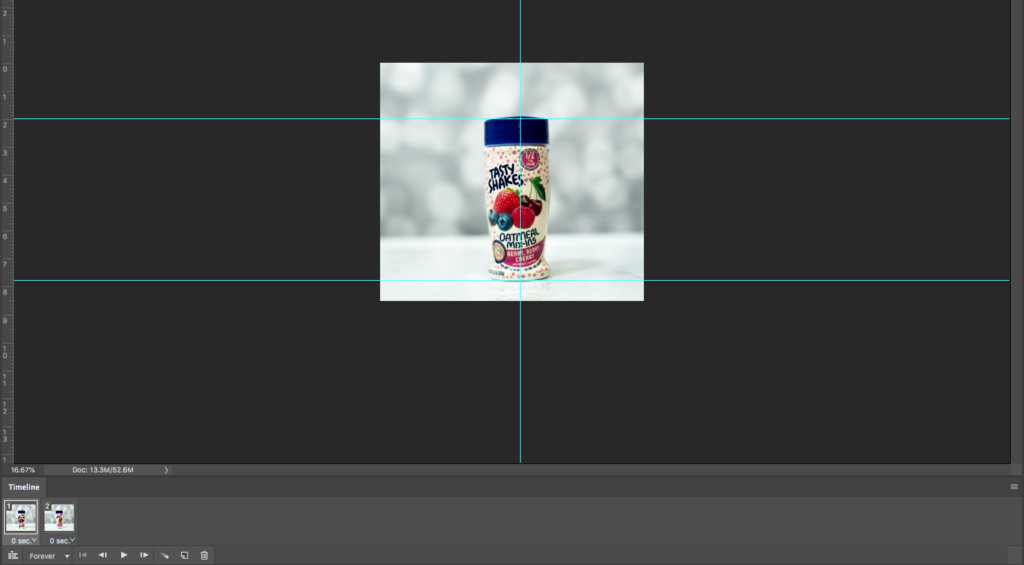
- Drag and drop one the images you’d like to use into the same Photoshop canvas. They should all be on different layers. Make sure the images are the same size, color and taken from the same vantage point.
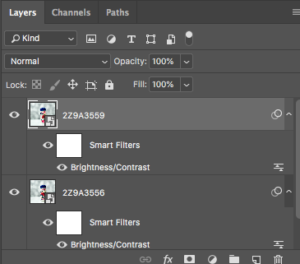
You can use the ruler tool to ensure they’re lined up perfectly.
- Go to the menu bar at the top and click Window > Timeline to view the animation feature
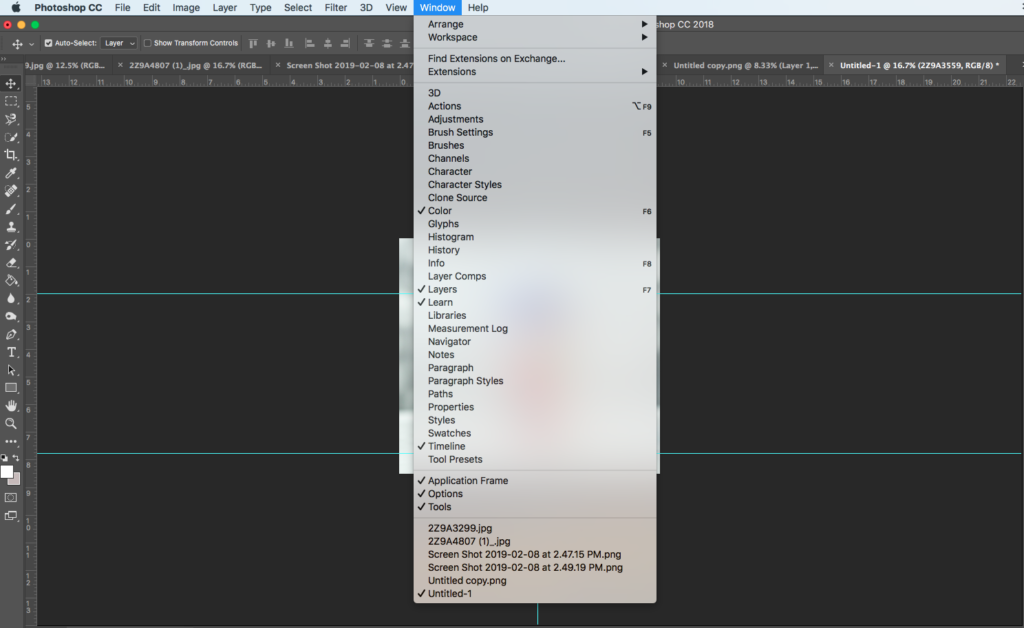
This will pop up at the bottom of your canvas.

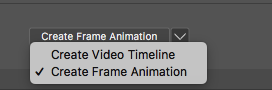
- Click “Create Frame Automation”
- Click the button with the three horizontal lines on the top right of the timeline tool.
From there, click “Make Frames From Layers”
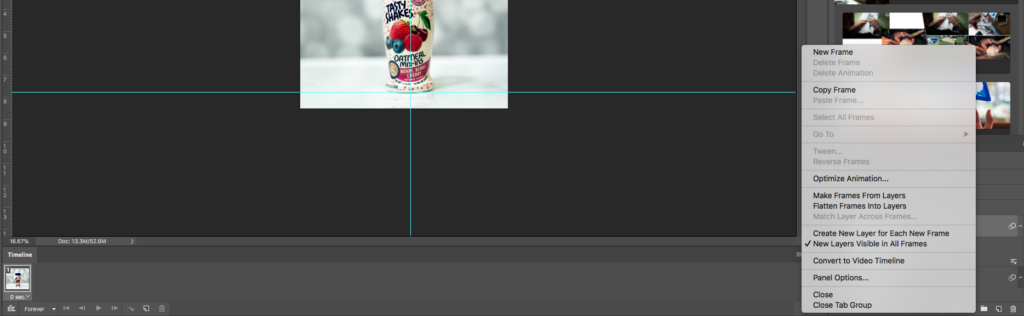
All of the layers should populate in the Timeline tool.
- Change the timing of each image by selecting them in the timeline tool and clicking the dropout arrow.
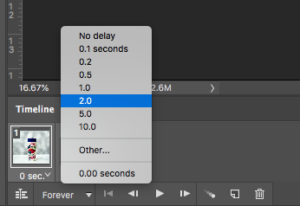
I typically make my GIFs at the .2 or .5 speed. Select one and hit the play button to see how it looks. If the “Forever,” option isn’t selected, be sure to select it so it loops over and over again.
If you’re making the GIF for Instagram, select all of the slides and hit the duplicate button so the video will be longer than three seconds. Instagram doesn’t let you share a video shorter than three seconds.

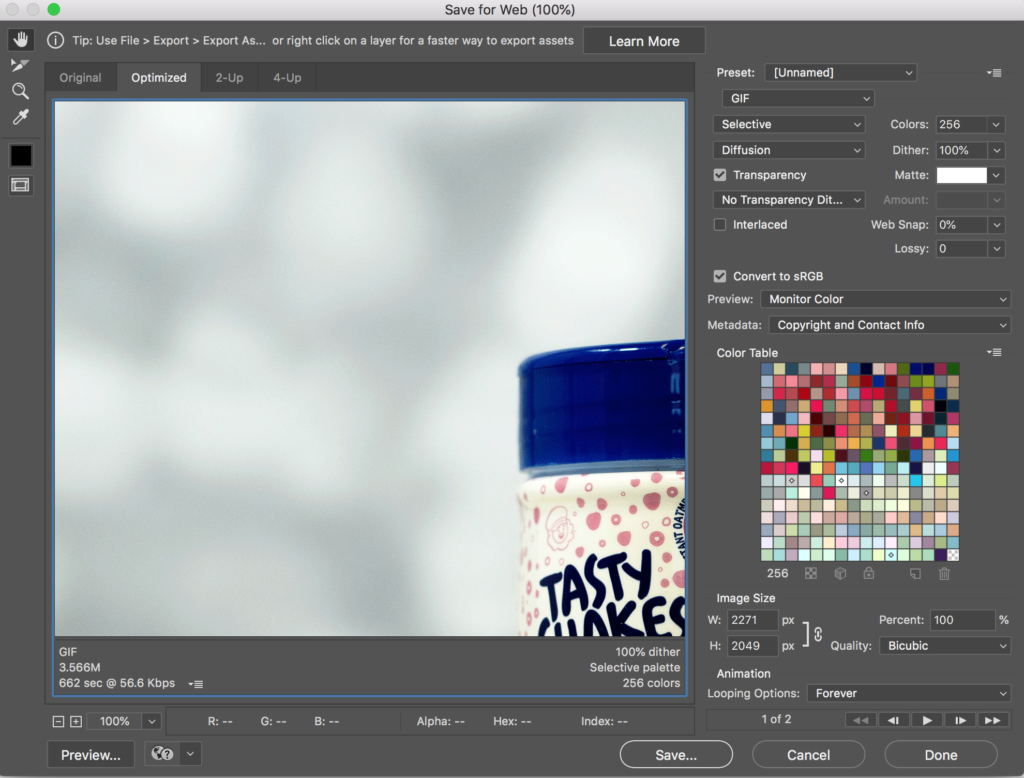
- To save your GIF, go to FILE > EXPORT > SAVE FOR WEB (LEGACY)
These are the settings that I select before saving.
Voilà!